
Plumbing Maintenance Tasks You Can Do Without a Wrench
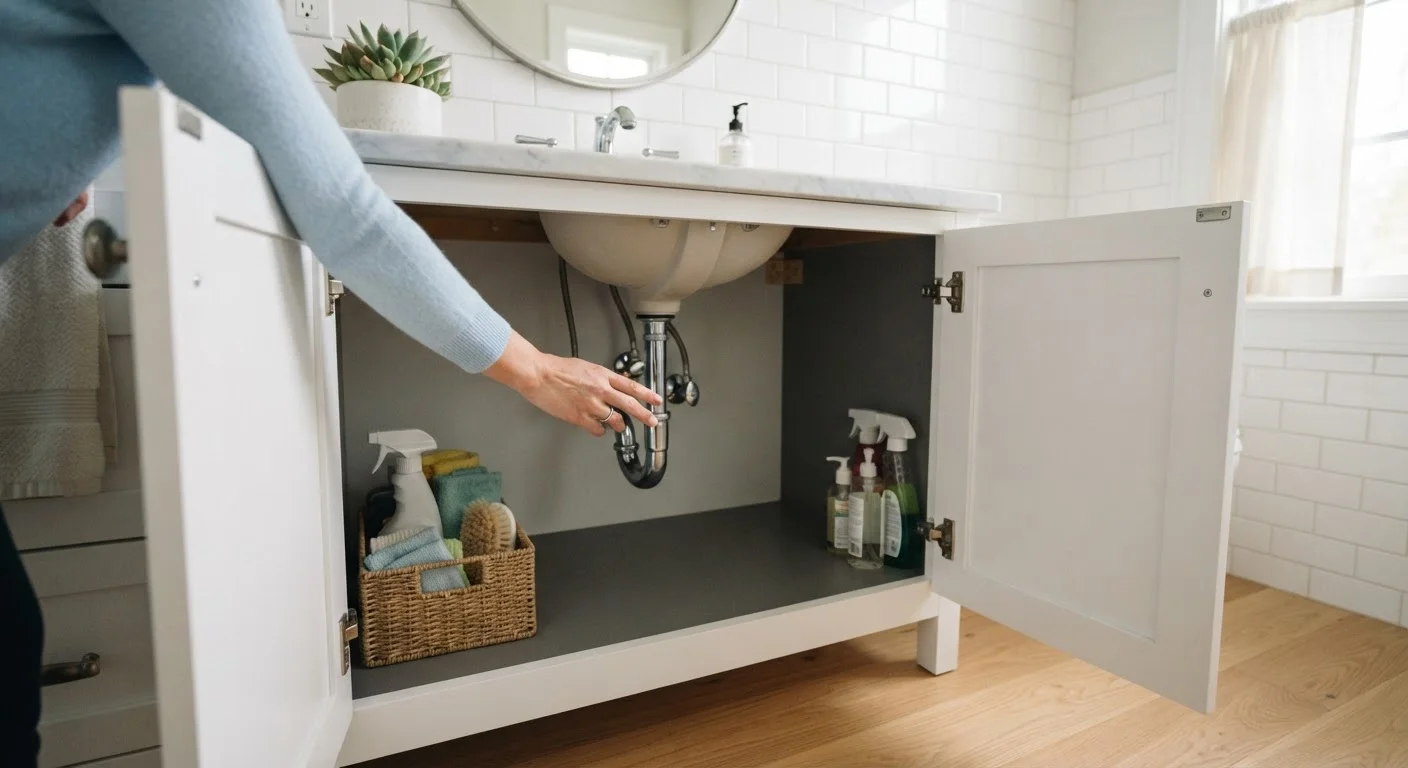
Photo credit: Infolagoon.com | Blogs To Rely On
In this article
From checking for slow leaks to flushing water heaters, these straightforward tasks help prevent costly plumbing problems down the line.
Key Takeaways
- Most routine plumbing checks require no special tools — just observation and a few household supplies.
- Catching slow drips, mineral buildup, and slow drains early can prevent expensive water damage.
- Flushing sediment from a water heater and testing shut-off valves are high-value tasks any homeowner can do.
- Seasonal attention to plumbing protects your home's structure and helps avoid surprise repair bills.
Why Tool-Free Plumbing Maintenance Matters
Most homeowners assume plumbing maintenance starts and ends with calling a plumber. In reality, a large portion of effective upkeep involves nothing more complex than looking, listening, and responding to early warning signs — no wrench required.
Small issues like a slow-draining sink or a tiny drip under a cabinet rarely fix themselves. Left unaddressed, they tend to compound. As our guide on the hidden costs of deferred home maintenance explains, what starts as a minor nuisance can escalate into water damage, mold, or structural repair. The tasks below are designed to help you stay ahead of those problems — no specialized tools needed.
What you will need
What You'll Need
Before working through these tasks, gather a few basic supplies. Most are already in the average home.
Flashlight or phone torch
Illuminates dark cabinet interiors and behind appliances to spot moisture or staining.
Dry paper towels
Used to wipe pipe joints and connections — any dampness that appears reveals a slow leak.
White vinegar
Dissolves mineral scale from aerators, showerheads, and toilet tank parts without chemicals.
Bucket (2–5 gallon)
Collects sediment-laden water when draining from the water heater drain valve.
Food coloring (any color)
Added to the toilet tank to detect silent flapper leaks without disassembly.
Step-by-Step: The Core Checks
Work through these tasks room by room. Starting under sinks and moving toward the water heater is an efficient order for most homes. Each task takes just a few minutes on its own.
Inspect under-sink cabinets for moisture
Open every cabinet under bathroom and kitchen sinks. Use a flashlight to examine the pipes, supply lines, and the cabinet floor. Look for water stains, rust rings, warped wood, or any sign of standing moisture. Run the faucet briefly and watch the drain connections while water flows.
Run a dry paper towel along each pipe joint and the base of supply line fittings. Any dampness that transfers to the paper indicates a slow drip that needs attention — either tightening a compression fitting by hand or calling a plumber for threaded connections.
Test for silent toilet leaks
Remove the toilet tank lid and add 10–15 drops of food coloring to the water. Do not flush. Wait 15 minutes, then look inside the bowl. If colored water appears in the bowl without flushing, the flapper valve is leaking. A leaking flapper can waste hundreds of gallons of water per day invisibly.
Flapper replacement is a common DIY repair, but if you are not comfortable working inside the tank, a plumber can handle it quickly.
Check drain flow in sinks and tubs
Run water in each sink, tub, and shower for 30 seconds. Water should drain promptly with no pooling. Slow drainage signals early buildup of hair, soap, or grease — far easier to address now than once a full blockage forms.
For bathroom drains, remove and rinse the stopper or drain cover. Hair accumulates quickly around the drain basket and can often be removed by hand or with a bent paper clip without any tools.
Clean aerators and showerheads
Unscrew faucet aerators (the small screen cap at the tip of each faucet) by hand or with a cloth for grip. Rinse off debris, and soak in white vinegar for 30 minutes to dissolve mineral scale. For showerheads, fill a plastic bag with vinegar, secure it around the showerhead with a rubber band so the head is submerged, and leave it for an hour before rinsing.
This restores water pressure and prevents buildup from affecting internal valve components.
Exercise shut-off valves
Locate the individual shut-off valves under each sink and behind each toilet. Turn each valve fully clockwise (closed), then back counterclockwise (open). This keeps the valve seats from seizing with mineral deposits — a common problem that becomes critical when you actually need to stop water in an emergency.
If a valve is stiff and will not turn by hand, do not force it. Note its location and have a plumber service it — a broken valve under pressure can cause a significant leak.
Flush sediment from your water heater
Sediment from minerals in tap water settles at the bottom of storage water heaters over time, reducing efficiency and shortening the unit's life. Once or twice a year, connect a garden hose to the drain valve at the base of the heater, run the hose to a floor drain or outside, and open the valve briefly to let sediment-cloudy water escape into your bucket. Continue until the water runs clear.
Turn off the cold-water supply to the heater before draining, and follow your heater manufacturer's guidance on relighting the pilot or restarting an electric unit. For a more detailed comparison of tank vs. tankless heater upkeep, see our guide on water heater maintenance demands.
Build a Simple Plumbing Log
Keep a notebook or notes app entry that records when you completed each check and anything unusual you noticed. This creates a useful history if a plumber ever needs to diagnose a recurring problem, and helps you track how quickly minor issues progress.
Fitting These Tasks Into Your Routine
These checks work best when they become habits rather than one-time events. A good approach is to tie them to seasonal milestones — fall and spring are natural moments to run through the full list. Our home annual maintenance calendar can help you schedule plumbing checks alongside other upkeep tasks so nothing falls through the cracks.
If budget is a concern, prioritize the tasks most likely to prevent water damage — under-sink checks, toilet leak tests, and water heater sediment flushing offer the most protection per minute invested. For a broader view of where to focus limited resources, see our article on maintaining a home on a tight budget.
Know When to Call a Professional
These tasks are designed for observation and light maintenance — not repair of pressurized lines, gas connections, or structural plumbing. If you discover active water damage, a valve you cannot operate, or any issue involving the main line or water heater gas supply, stop and contact a licensed plumber. Some repairs also require permits depending on your local building codes.
For water heater-specific upkeep, the maintenance demands differ significantly between tank and tankless models. Comparing their maintenance needs before you begin can save you from applying the wrong process to your unit.
This article provides general home maintenance information for educational purposes. It is not a substitute for advice from a licensed plumber. For tasks involving gas lines, main shutoffs, or significant water damage, consult a qualified professional.

Author
Home & Living Editorial Team
Home & Living Editorial Team is the collective byline for our editorial team and contributor network. Articles published under this byline or an editorial pen name are researched, written, and reviewed according to our editorial standards for clarity, consistency, and independence before publication.
View all articles →