
Caulk vs. Weatherstripping: Sealing Drafts the Right Way
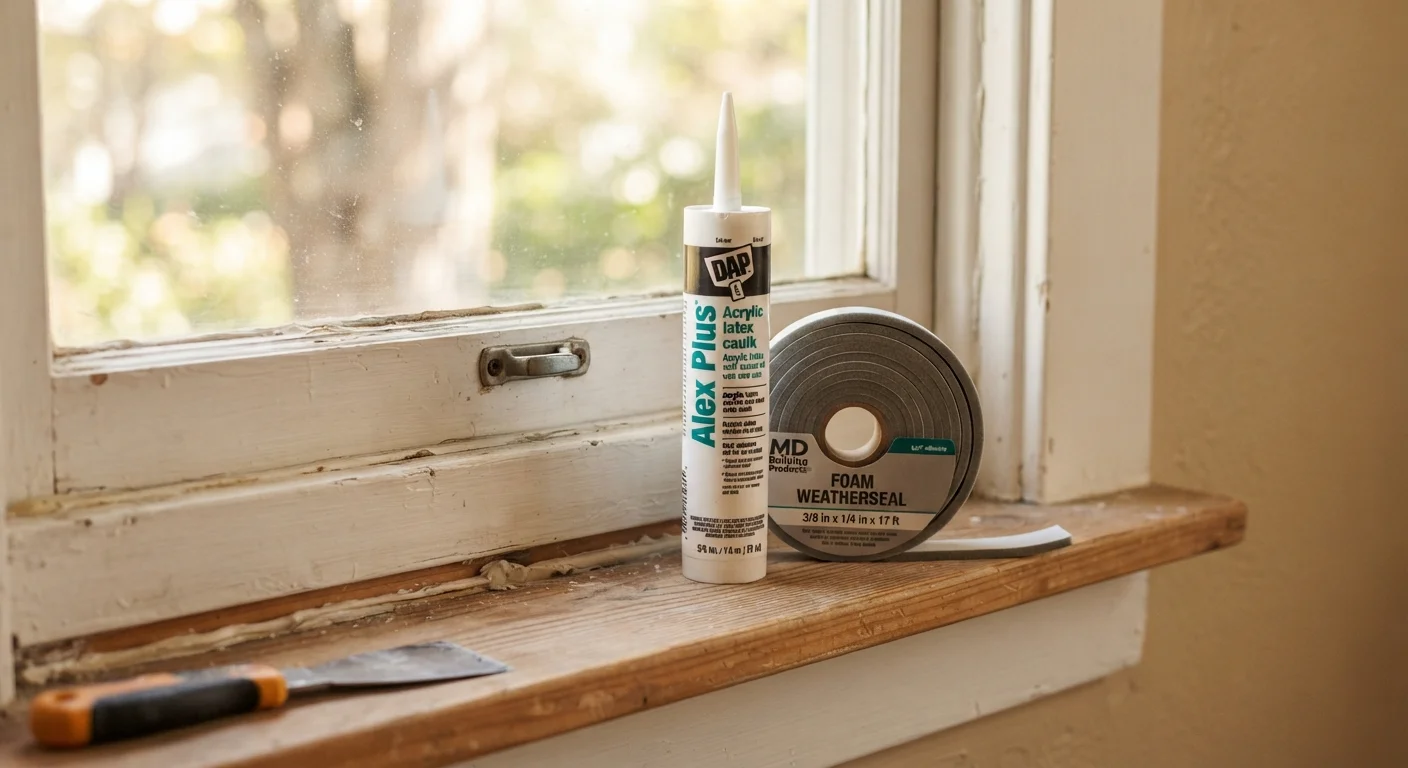
Photo credit: Infolagoon.com | Blogs To Rely On
In this article
Both caulk and weatherstripping block air leaks, but they serve different purposes. Learn which one belongs where around doors and windows.
Key Takeaways
- Caulk belongs on stationary surfaces; weatherstripping belongs on moving parts like door edges and operable windows.
- Using caulk on a moving door or window will cause it to crack and fail quickly.
- Most homes need both products applied in different locations for complete draft control.
- Surface prep — clean, dry, and free of old material — is essential for either product to hold.
- Weatherstripping comes in several types; matching the type to the location determines how well it performs.
- A simple candle or incense stick can help you detect air leaks before you decide which product to apply.
Why the Distinction Matters
Air leaks are one of the most common — and most correctable — sources of heat loss in a home. Yet many homeowners apply the wrong sealing method to the wrong surface, leading to materials that crack, peel, or fall off within a season. The core principle is simple: caulk seals surfaces that don't move; weatherstripping seals surfaces that do.
Before you pick up either product, do a quick draft inspection. Hold a lit candle or stick of incense near door frames, window edges, electrical outlets on exterior walls, and baseboards on cold days. Flickering flame or drifting smoke points to the leak. Once you've identified where air is entering, you can choose the right solution. For a broader seasonal inspection checklist, see what to check before winter hits your home.
| Criterion | Caulk | Weatherstripping |
|---|---|---|
| Best application | Stationary gaps and joints | Moving doors and operable windows |
| Flexibility after curing | Semi-flexible, permanent bond | Compressible; absorbs repeated movement |
| Typical lifespan | 5–10 years (surface and product dependent) | 2–5 years (varies by type and traffic) |
| Skill level required | Low; requires steady hand and prep | Very low to low; mostly peel-and-stick |
| Failure if misapplied | Cracks if applied to moving surfaces | Peels if applied to non-matching profile |
| Common locations | Window frames, door casings, baseboards | Door edges, sashes, thresholds |
Where Caulk Belongs — and How to Apply It
Caulk is a semi-flexible compound that cures into a permanent seal. It's designed for stationary joints — places where two surfaces meet and stay put. Common locations include:
- The joint between a window frame and exterior siding
- The gap where door casing meets an interior wall
- Cracks along baseboards on exterior walls
- Gaps around pipes or wires that pass through exterior walls
For best results, remove all old caulk first using a putty knife or dedicated removal tool. The surface must be clean and completely dry — moisture trapped under fresh caulk is one of the leading reasons seals fail early. Apply in a steady, continuous bead and smooth it with a damp finger or caulk tool within a few minutes of application. Silicone caulk is more durable for exterior use; latex (or paintable) caulk suits most interior applications. To understand why caulk jobs often fail prematurely, see what causes caulk to fail faster than it should.
Where Weatherstripping Belongs — and Which Type to Choose
Weatherstripping creates a compressible barrier that accommodates the repeated open-and-close motion of doors and operable windows. Applying caulk to these moving surfaces virtually guarantees it will crack and detach within weeks.
The most common weatherstripping types and their best uses:
- Foam tape (self-adhesive): Easy to install; works well on window sashes and the top and latch sides of door frames. Best for light-to-moderate use.
- V-strip (tension seal): Durable plastic or metal strip that fits into the channel of a door or window. Handles frequent use well and lasts longer than foam.
- Door sweeps: Attach to the bottom of a door to seal the gap at the threshold — a common source of cold air infiltration.
- Bulb or tubular rubber seal: Compresses against the door stop; typically stapled or nailed in place. Common on older entry doors.
When replacing weatherstripping, take a piece of the old material to a hardware store to match thickness and profile. A seal that's too thin won't contact the door properly; one that's too thick may prevent the door from closing fully. For a complete pre-winter plan that covers weatherstripping alongside other vulnerabilities, visit weatherproofing a home before winter.
25–30%
Home heating loss through windows and doors
The U.S. Department of Energy estimates that drafts through windows, doors, and other openings can account for roughly 25–30% of residential heating and cooling energy use.
$100–$200
Estimated annual savings from sealing leaks
Energy Star guidance suggests that sealing and insulating a home — including addressing air leaks — can save homeowners a meaningful portion of annual energy costs, though actual results vary widely by home size and climate.
Using Both Together for Complete Coverage
Most drafty doors and windows actually need both products applied in different spots. Consider a standard entry door:
- The door casing where it meets the interior wall → caulk
- The door stop (the trim the door closes against) → weatherstripping
- The bottom threshold gap → door sweep
Similarly, a double-hung window gets caulk along the exterior frame-to-siding joint and weatherstripping along the moving sash rails. Getting both right together gives you the most complete air seal possible without interfering with the window's operation.
If your home also has energy concerns beyond doors and windows — such as a poorly conditioned attic — those issues compound heating costs in ways no amount of caulk can fix alone. The relationship between attic ventilation and insulation is worth understanding as part of a whole-home efficiency approach.
This article is for general home improvement information only. Always follow manufacturer instructions for any products used, and consult a qualified contractor if you are unsure about the scope or safety of a project.

Author
Home & Living Editorial Team
Home & Living Editorial Team is the collective byline for our editorial team and contributor network. Articles published under this byline or an editorial pen name are researched, written, and reviewed according to our editorial standards for clarity, consistency, and independence before publication.
View all articles →