
Drywall Repair from Small Holes to Large Patches
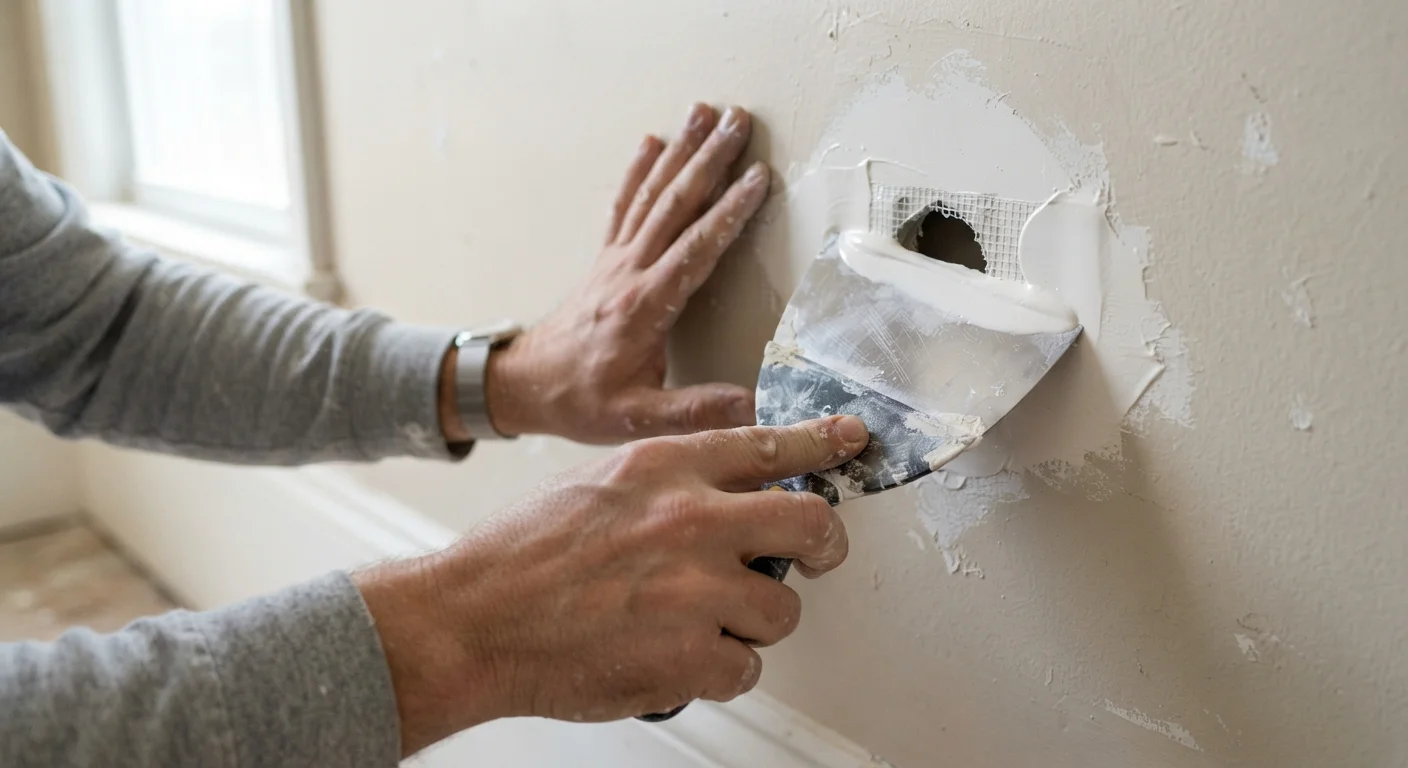
Photo credit: Infolagoon.com | Blogs To Rely On
In this article
Nail pops, doorknob dents, or larger damage — learn the right repair approach for each type of drywall hole before you pick up a putty knife.
Key Takeaways
- Hole size determines which repair method you should use — not all patches are the same.
- Most small holes under half an inch can be filled with lightweight spackling compound alone.
- Holes between one and six inches require a backing support and joint compound in layers.
- Drying time between coats is critical; rushing leads to cracking and visible seams.
- Proper sanding and priming before painting ensures the patch blends with the surrounding wall.
Understanding the Three Categories of Drywall Damage
Before you open a tub of spackling or cut a single piece of mesh tape, take a moment to assess what you're actually dealing with. Drywall repairs fall into three size categories, and each one calls for a different technique and set of materials.
- Pinhole to ½ inch: Nail pops, small picture hooks, and screw holes. These are the simplest repairs and require minimal materials.
- ½ inch to 6 inches: Doorknob dents, accidental punctures, and small impact damage. These need a backing structure or self-adhesive patch to support the compound.
- Larger than 6 inches: Water damage cutouts, major impacts, or sections removed for plumbing or electrical work. These require a cut-out, new drywall, and a proper taped seam.
If you're new to DIY home repairs, our guide for new homeowners covers essential tool basics and when it makes sense to call a professional instead.
What you will need
What You'll Need
Gather your materials before starting. Having everything on hand prevents mid-repair trips to the hardware store and reduces drying-time mistakes.
Lightweight spackling compound
Fills small holes up to ½ inch; dries quickly and sands easily.
All-purpose joint compound
Used for medium and large patches where multiple coats are needed.
Self-adhesive mesh patch
Provides backing support for holes between ½ inch and 6 inches.
Replacement drywall panel
Needed when cutting out and replacing sections larger than 6 inches.
Putty knife (3-inch and 6-inch)
Applies and feathers compound across the repair area.
Drywall saw or keyhole saw
Cuts out damaged sections cleanly for large-patch repairs.
120- and 220-grit sandpaper
Smooths dried compound between coats and before priming.
Drywall primer
Seals the repaired surface so paint absorbs evenly and avoids flashing.
Step-by-Step Repair Instructions
Follow the steps below in order. The core sequence — prep, fill, sand, prime, paint — applies to all three hole sizes, though the middle steps differ by damage type.
Clean and prep the damaged area
Remove any loose paper facing, crumbling drywall edges, or debris around the hole. For nail pops, drive the existing nail slightly deeper with a hammer and cover it with a new drywall screw 2 inches above and below the pop. Wipe the surface clean and let it dry completely before applying any compound.
Fill small holes (up to ½ inch)
Apply a small amount of lightweight spackling compound directly into the hole using a 3-inch putty knife. Press firmly to pack the compound in, then drag the blade flat across the surface to remove the excess. Allow to dry fully — the compound will shrink slightly and turn from gray to white. Sand lightly with 220-grit sandpaper until flush.
Patch medium holes (½ inch to 6 inches)
Center a self-adhesive mesh patch over the hole and press it firmly onto the wall. Apply a coat of all-purpose joint compound over the mesh using a 6-inch putty knife, feathering the edges outward at least 2 inches beyond the patch. Let dry completely (typically 24 hours), then apply a second coat, feathering it 2 inches wider than the first. Sand between coats with 120-grit paper, finishing with 220-grit after the final coat.
Replace large sections (over 6 inches)
Use a drywall saw to cut the damaged area into a clean rectangle, extending your cuts to the center of the nearest studs on each side. Cut a replacement piece of drywall to fit, screw it to the studs, and apply joint tape over every seam. Coat with joint compound in three feathered layers, sanding between each. This repair takes the most time but produces the most durable result.
Prime and paint the repaired surface
Once the final sanded surface feels smooth and flush, apply one coat of drywall primer to the repaired area. Let it dry per the manufacturer's directions, then paint over it to match the surrounding wall. For best color matching, consider rolling a light coat of paint over the entire wall rather than spot-painting only the patch.
Keep Leftover Compound From Drying Out
Store unused joint compound with plastic wrap pressed directly onto its surface before replacing the lid. This prevents a dry skin from forming on top and keeps the compound workable for months. Dried chunks mixed back into fresh compound leave ridges in your finish coat.
Finishing and Blending the Patch
A technically sound patch can still look obvious if the finishing steps are skipped. Once your final coat of compound is fully dry and sanded smooth, run your hand across the surface. You should feel no ridge or depression between the patch and the surrounding wall.
Apply a coat of drywall primer to the repaired area before painting. Unprimed compound absorbs paint differently than the rest of the wall, which causes a dull spot called flashing — even when the color matches perfectly. A single coat of primer prevents this.
For texture matching — knockdown, orange peel, or skip-trowel finishes — practice your technique on a scrap piece of drywall or cardboard first. Texture is the hardest element to match and often reveals amateur repairs more than color does.
Texture Matching Takes Practice
Attempting texture on the actual wall before practicing on a scrap surface is one of the most common finishing mistakes. Spray textures in particular are difficult to control and can splatter well beyond the repair area. Take time to test your technique, and consider consulting a professional finisher if the wall has a complex or heavily layered texture.

Author
Home & Living Editorial Team
Home & Living Editorial Team is the collective byline for our editorial team and contributor network. Articles published under this byline or an editorial pen name are researched, written, and reviewed according to our editorial standards for clarity, consistency, and independence before publication.
View all articles →